Tips for Hiking in South Africa Without Getting Blisters
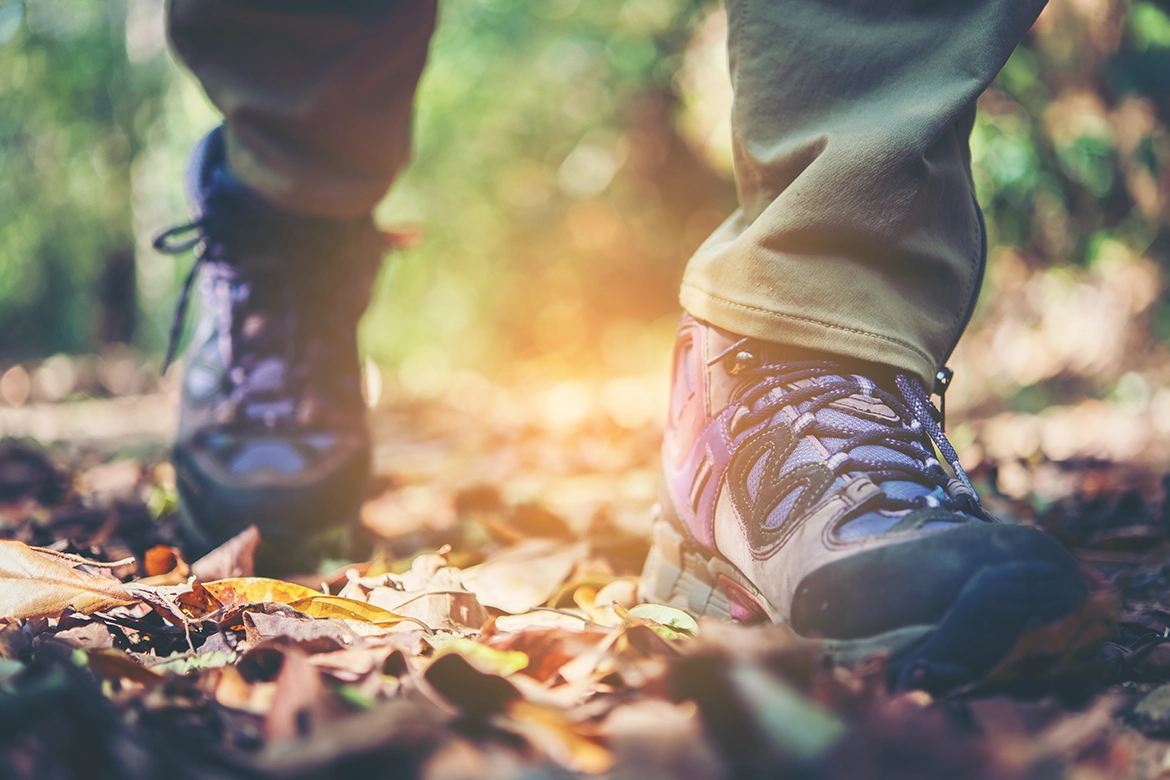
Your boots are broken in. Your pack is sorted. Then, three kilometres in, a hot rubbing sting starts up on your heel, and the rest of the hike turns into a negotiation with your own feet instead of a walk through the mountains.
Blisters end more good hiking days than bad weather does, and knowing how to deal with them, preferably before they appear, is something every hiker should know.
Why Blisters Happen When Hiking
Friction between skin and sock causes most hiking blisters, not the distance covered.
Research on long distance hikers puts blister rates anywhere from roughly 9 in 10 people, depending on the length of the trail, the footwear and the conditions.
Moisture is the biggest culprit with hikers wearing wet socks facing close to double the risk of blistering compared with those who keep their feet dry, because damp skin softens and grips fabric more than dry skin does.
Heat, pressure from ill-fitting boots and repeated rubbing on the same spot do the rest.
Match Your Prevention to Your Trail
A two-hour amble needs less preparation than a route with more elevation and a greater distance.
Short outings mostly call for well fitted shoes and clean, dry socks.
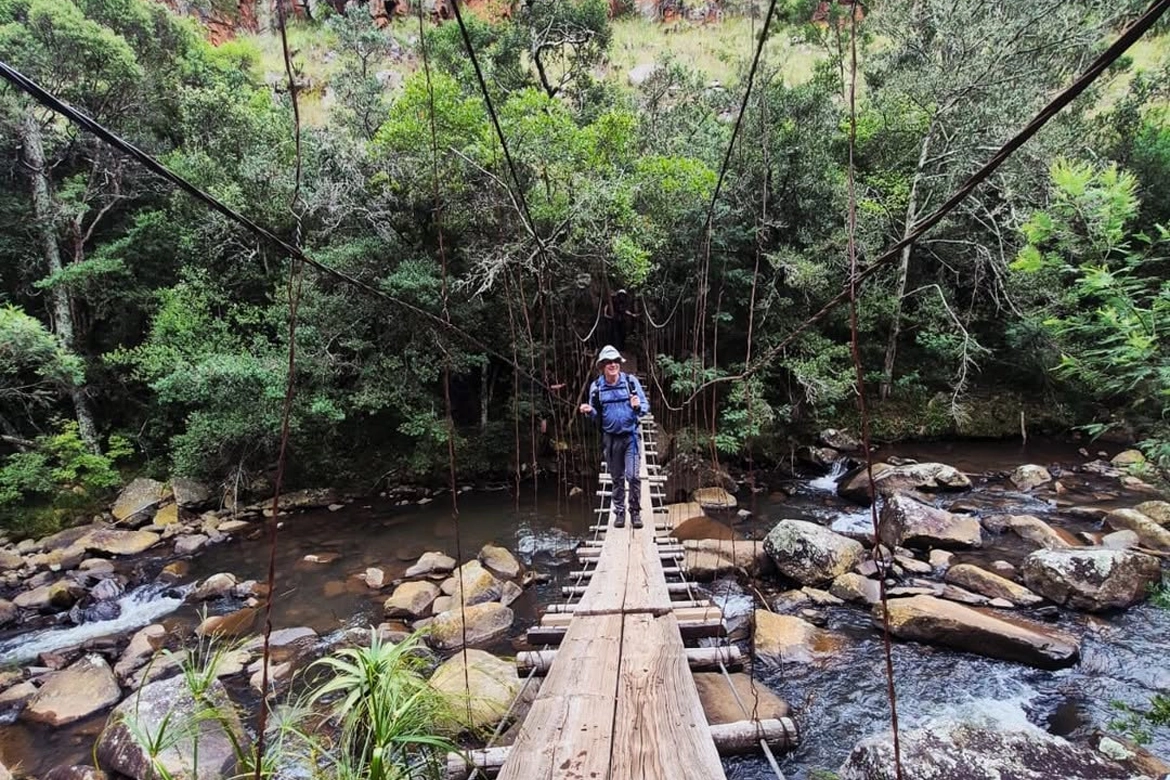
Longer days, especially ones through kloofs, river crossings and mountain terrain, need a proper system like socks changed at the halfway mark, boots broken in over several shorter walks first, and known hot spots taped before they turn into a blister rather than after.
Hikers tackling multi day routes need to treat foot care as a daily task, not a once off decision made at the car park.
A Quick Prevention Checklist
A Comparison of the Best Prevention Methods
| Method | Best for | When to use |
|---|---|---|
| Liner and outer sock combination | Long or multi day hikes | Every hike, from the first step |
| Blister tape or moleskin | Known hot spots and repeat offenders | Before symptoms start |
| Hydrocolloid blister plasters | A blister that has already formed | As soon as it appears |
| Gradual boot break in | New or stiff footwear | Weeks before a big hike |
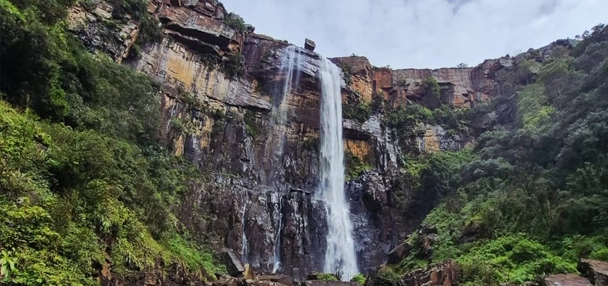
Mpumalanga’s trails, including the multi day routes through the Komati Valley at places like Bermanzi, cover exactly this kind of varied terrain. If you are planning a hike from Bermanzi, you’ll want to make sure that you cover all the prevention basics, least you end up with a painful blister or two to ruin your weekend away.